Although the factory E46 Light Switch (LCM / LSZ) can be removed in an E46 race car, it involves more work than you may assume and it usually makes more sense to keep the factory LCM. However, depending on your cage design you may run into clearance issues when trying to reinstall the LCM into the dash due to the size and shape of the LCM.
When this happens, you can separate the factory E46 Light Switch (LCM) into two pieces; the front panel with the switches that you see in the dash and the rear portion with the PCB/electronics that the connector plugs into. These two pieces simply clip together with a ribbon cable going between them and sometimes the original ribbon cable offers enough wiggle room to provide enough clearance.
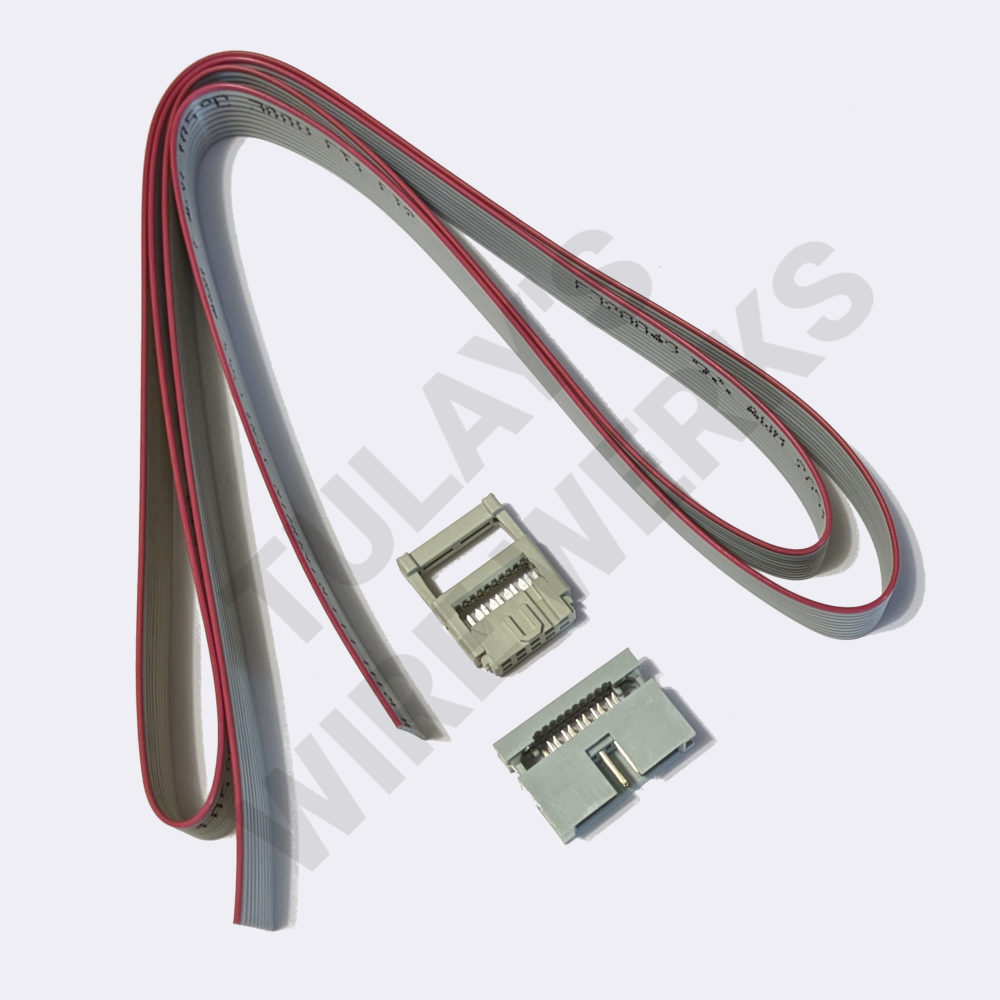
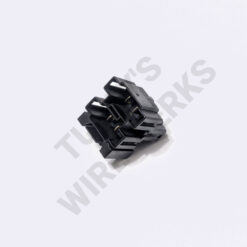
This BMW E46 Light Switch (LCM) Extension Cable Connector Kit includes a 10-pin plug, 10-pin receptacle and a 1 meter ribbon cable which you can cut to length to create an extension cable that will plug in-between the original ribbon cable of the light switch and the front panel and allow you to further separate the two pieces of the LCM such that the rear portion can be put anywhere that the factory wiring can reach while keeping the front panel at the stock location in the dash, or to even relocate the front panel elsewhere.
BMW E46 Light Switch (LCM) Extension Cable Connector Kit Installation Instructions:
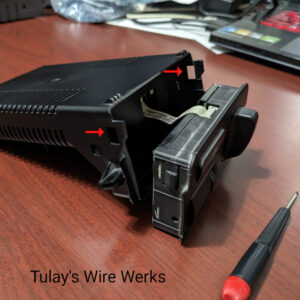
Step 1: Separate the front and rear portions of the E46 Light Switch (LCM).
— Place the LCM upside down.
— Use a small screwdriver to unclip the front panel from the rear portion where the red arrows show.
— Gently pivot the bottom of the front panel forward and pull it forward.
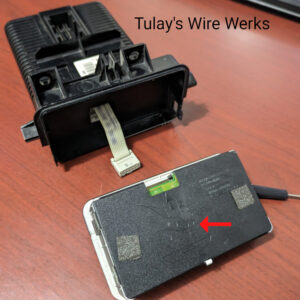
Step 2: Unplug the ribbon cable from the front panel.
— Pull the ribbon cable as indicated in the diagram on the back of the front panel where the red arrow shows.
Step 3: Assemble one end of the ribbon cable to the 10-pin Plug.
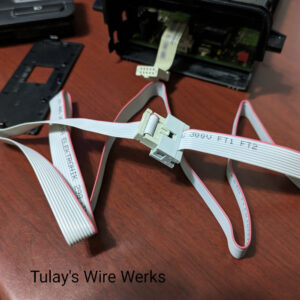
— Insert the ribbon cable into the opening of the 10-pin Plug, keeping the ribbon cable flush on the opposite side. Note: the orientation of the ribbon cable does not matter at this point.
— Press the two pieces of the 10-pin Plug together until they are clipped together. Note: this may be difficult by hand but this can be done by slowly working it together with pliers.
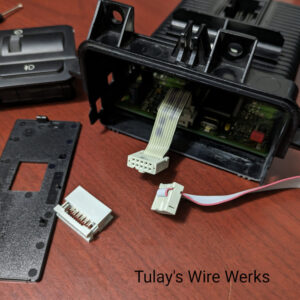
— Loop the ribbon cable 180 degrees over the top of the connector and clip the final piece of the connector over the ribbon cable. Once fully assembled this part will look just like the plug coming from the PCB of the LCM.
Note: The next piece of the LCM that exposes the PCB does not need to be removed, although it is in this image.
Step 4: Assemble the second end of the ribbon cable to the 10-pin Receptacle.
— Optional: Cut the ribbon cable to length. Make this cut as square and clean as possible.
— Insert the ribbon cable into the 10-pin Receptacle, keeping the ribbon cable flush on the opposite side.
— Ensure the orientation of the ribbon cable matches before clipping the two pieces of the 10-pin Receptacle together. Loosely line up the 10-pin Receptable to the 10-Pin Plug and make sure that the red stripe matches on both ends.
— Once you confirm the orientation of the ribbon cable matches on both ends, press the two pieces of the 10-pin Receptacle together until they are clipped together. Note: this may be difficult by hand but this can be done by slowly working it together with pliers.
Step 5: Final Assembly.
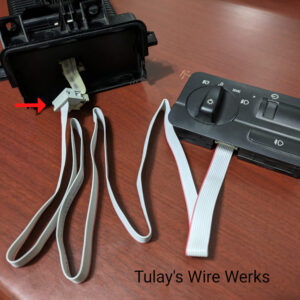
— Connect your newly made extension cable to both the front panel and rear portion of the LCM. Note: we suggest using tape or similar to further secure the connection indicated by the red arrow.
— Mount the front panel and rear portion of the LCM in your car as required at your desired locations.
| Weight | 0.08 lbs |
|---|---|
| Dimensions | 4 × 7 × 1 in |

Reviews
There are no reviews yet.